Tables can help us to organize data clearly in blog posts. A well-designed table can enhance readability, improve user experience, and make information easy to understand. Blogger does not offer advanced table design tools by default. But with some simple HTML and CSS, it is possible to create stylish and responsive tables that work well on both desktop and mobile devices.
| ID | Name | Role | Status | |
|---|---|---|---|---|
| 1 | John Doe | john.doe@example.com | Developer | Active |
| 1 | John Doe | john.doe@example.com | Developer | Active |
| 2 | Jane Smith | jane.smith@example.com | Designer | Pending |
| 3 | Mike Johnson | mike.j@example.com | Manager | Active |
| 4 | Emily Brown | emily.brown@example.com | Analyst | Inactive |
By default, Blogger does not include advanced table customization features. But with simple HTML and CSS, any Blogger site can include beautiful, responsive, and stylish tables. This guide from Bytes Vibe explains step-by-step how to add a stylish responsive table in Blogger.
Why Use a Responsive Table in Blogger?
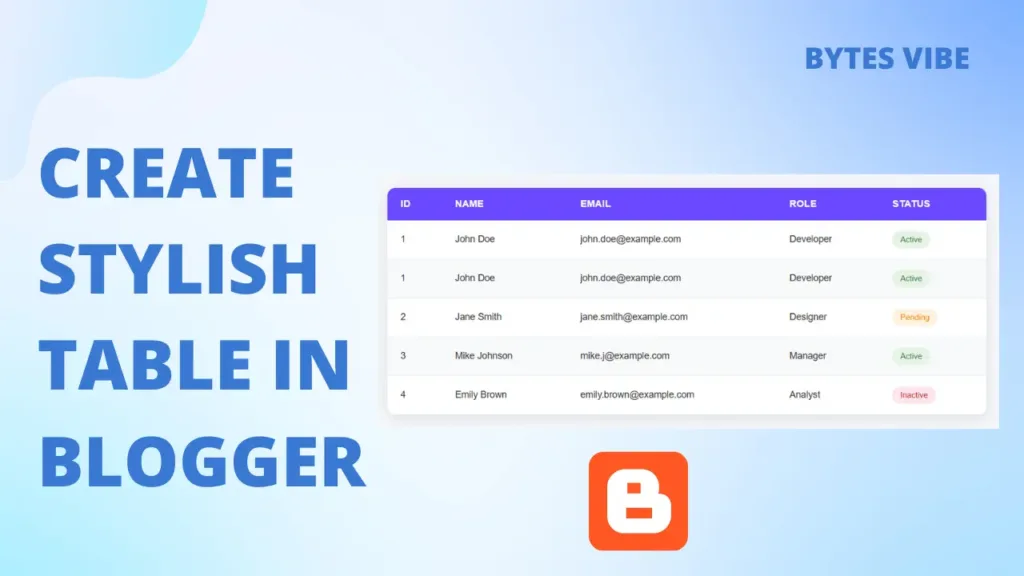
A responsive table in Blogger ensures that the table adjusts to different screen sizes. This is important because most blog visitors come from mobile devices. Without responsive design, tables can overflow the screen or appear broken. A stylish responsive table improves both SEO and user experience.
Tables can help with:
- Comparing products
- Listing team members
- Displaying schedules or timelines
- Presenting data or reports
- Sharing pricing tables
Step 1: Enable HTML Mode in Blogger
To create a custom table in Blogger, HTML editing must be turned on. This allows direct access to the post’s structure.
Follow these steps to create a stylish table in blogger:
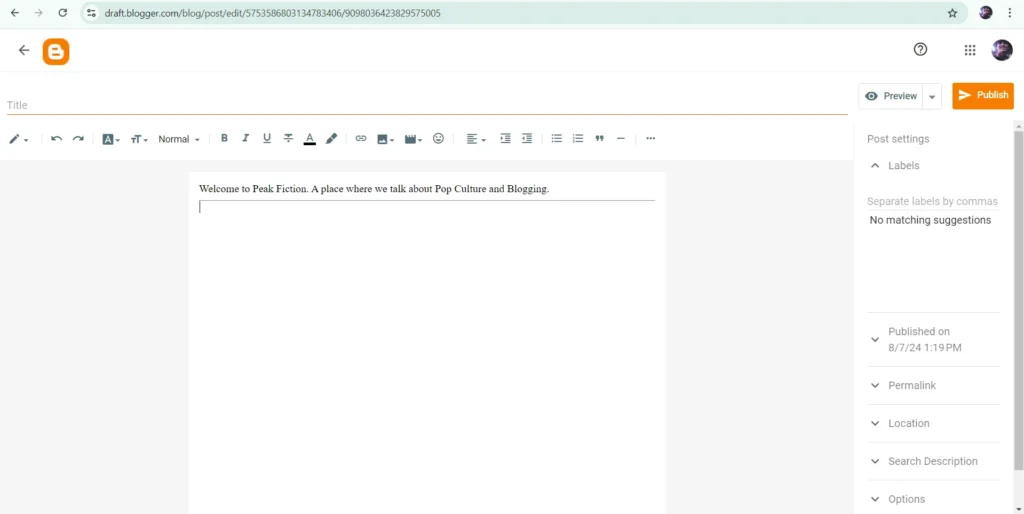
- Open Blogger dashboard.
- Select Posts and click on New Post.
- Click the pencil icon to switch to HTML view.
- Insert the table HTML code in this view.
This method works on both Blogger posts and static pages. Bytes Vibe uses this approach to create responsive layouts in various tutorials.
Step 2: Add the Responsive Table HTML
Use the following HTML to add a stylish table in blogger site. This table includes a header and some rows.
 <div class="table-container">
        <table>
            <thead>
                <tr>
                    <th>ID</th>
                    <th>Name</th>
                    <th>Email</th>
                    <th>Role</th>
                    <th>Status</th>
                </tr>
            </thead>
            <tbody>
                <tr>
                    <td>1</td>
                    <td>John Doe</td>
                    <td>john.doe@example.com</td>
                    <td>Developer</td>
                    <td><span class="status status-active">Active</span></td>
                </tr>
                <tr>
                    <td>1</td>
                    <td>John Doe</td>
                    <td>john.doe@example.com</td>
                    <td>Developer</td>
                    <td><span class="status status-active">Active</span></td>
                </tr>
                <tr>
                    <td>2</td>
                    <td>Jane Smith</td>
                    <td>jane.smith@example.com</td>
                    <td>Designer</td>
                    <td><span class="status status-pending">Pending</span></td>
                </tr>
                <tr>
                    <td>3</td>
                    <td>Mike Johnson</td>
                    <td>mike.j@example.com</td>
                    <td>Manager</td>
                    <td><span class="status status-active">Active</span></td>
                </tr>
                <tr>
                    <td>4</td>
                    <td>Emily Brown</td>
                    <td>emily.brown@example.com</td>
                    <td>Analyst</td>
                    <td><span class="status status-inactive">Inactive</span></td>
                </tr>
            </tbody>
        </table>
    </div>Code language: HTML, XML (xml)
To use this stylish and reposive table in blogger, Copy the entire code from above and Paste it where you want the table in the HTML editor. You can change the names content to whatever you want. This structure is flexible. More rows and columns can be added as needed. On Bytes Vibe, similar tables are used to list tools, plugins, and WordPress tips.
Step 3: Add Custom CSS for a Stylish Responsive Table
Now it’s time to style the table. If we want the table style available across multiple posts/pages, we need tovadd the CSS to our Blogger template. The CSS below creates a modern, mobile-friendly table with clear borders, alternating row colors, and smooth responsiveness.
Follow these steps to add css in blogger for stylish table –
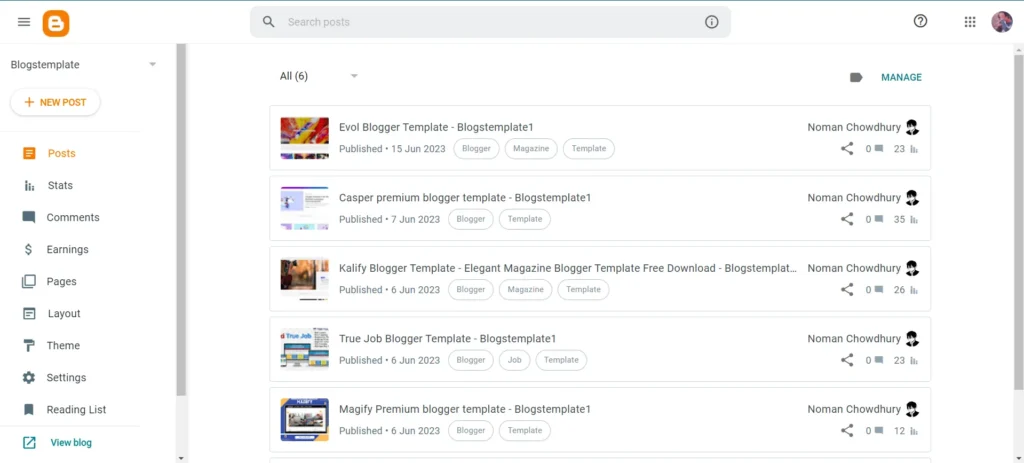
- Access the Template:
- In the Blogger dashboard, go to “Theme” > “Edit HTML”.
- Add CSS:
- Search the
</head>tag in the template. - Just before </head>, copy adn paste the whole code from below to Create a Stylish Responsive Table in Blogger –
- Search the
  <style>
        *{margin:0;padding:0;box-sizing:border-box;font-family:'Inter',sans-serif}
body{background:#f5f7fa;display:flex;justify-content:center;align-items:center;min-height:100vh;padding:20px}
.table-container{background:white;border-radius:12px;box-shadow:0 4px 20px rgba(0,0,0,0.1);overflow:hidden;width:100%;max-width:900px;margin:0 auto}
table{width:100%;border-collapse:collapse}
th,td{padding:16px 20px;text-align:left;font-size:14px}
th{background:#6b48ff;color:white;font-weight:600;text-transform:uppercase;letter-spacing:0.5px}
tr{transition:background 0.2s ease}
tr:nth-child(even){background:#f8f9fb}
tr:hover{background:#f0f2f5}
td{color:#333;border-bottom:1px solid #e9ecef}
.status{padding:6px 12px;border-radius:20px;font-size:12px;font-weight:500;display:inline-block}
.status-active{background:#e6f3e6;color:#2e7d32}
.status-pending{background:#fff3e0;color:#f57c00}
.status-inactive{background:#fce4ec;color:#c62828}
/* Responsive Design */
        @media (max-width:768px){.table-container{overflow-x:auto}th,td{padding:12px 15px;font-size:13px}th{min-width:100px}}
@media (max-width:480px){th,td{padding:10px;font-size:12px}.status{padding:4px 8px;font-size:11px}}
</style>Code language: HTML, XML (xml)
Than save the theme. This code helps the table stay readable on both desktop and mobile screens. Bytes Vibe uses similar styles in its Blogger tutorials, plugin comparisons, and SEO tools list.
Step 4: Publish and Test the Responsive Table in Blogger
Once the HTML and CSS are added, click Preview in Blogger. This allows us to test if the table is working properly. If everything looks good, hit Publish to make the post live. This blogger Stylish responsive tables can be reused in other posts or added to Blogger templates.
Customize –
We can further customize this Stylish Responsive Table in Blogger. Here are some things you can edit in html and css –
Add a new Table: To add a new row/column just copy and paste this part in post html. You can also delete this part from main html to delete a section.
<tr>
                    <td>1</td>
                    <td>John Doe</td>
                    <td>john.doe@example.com</td>
                    <td>Developer</td>
                    <td><span class="status status-active">Active</span></td>
                </tr>Code language: HTML, XML (xml)
Font Size: The text is 14px for readability. Bump it to 16px in th, td for a bolder look, or shrink status tags to 11px:
th, td {
    font-size: 16px;
}
.status {
    font-size: 11px;
}Code language: CSS (css)
Status Tags: The green, orange, and red tags are eye-catching. Change them to match your brand (e.g., .status-active { background: #d4edda; color: #155724; } for a darker green). Add new statuses like “Completed”:
.status-completed {
    background: #e0f7fa;
    color: #006064;
}Code language: CSS (css)
Than use it in html –
<td><span class="status status-completed">Completed</span></td>Code language: HTML, XML (xml)Final Words from Bytes Vibe
Creating a stylish responsive table in Blogger may seem difficult at first, but it becomes easy with HTML and CSS. With this guide, any Blogger site can feature clean, responsive, mobile-friendly tables. This helps in improving user experience and boosting SEO performance.
Bytes Vibe always focuses on helping bloggers and WordPress users improve design, speed, and ranking. For more tutorials like this, stay connected with Bytes Vibe — where web design meets simplicity and SEO.

